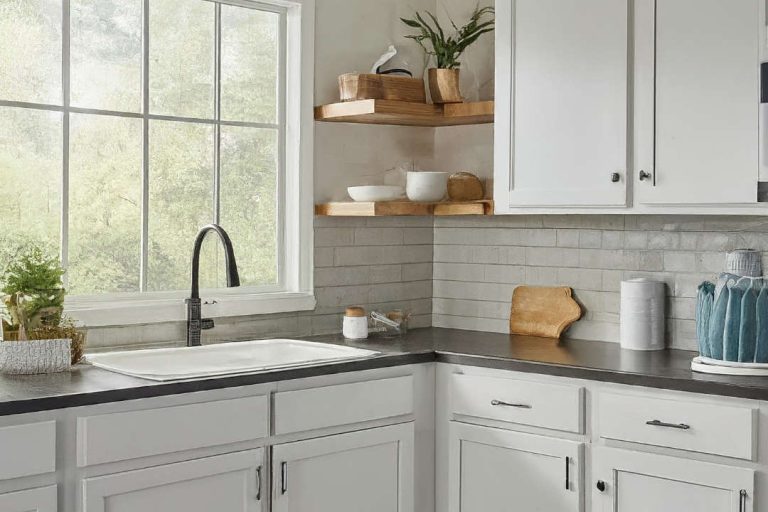
Painting gives any kitchen cabinet a high-quality finish. That’s why we embrace painting for the kitchen area. But the problem is- it becomes stained or discolored due to use. Then it becomes urgent to clean that area, so it can shine again.
What Causes Discoloration of the Finish on Kitchen Cabinets?
The discoloration of the kitchen cabinet finish is a common issue. Due to frequent use and the passing of time, even the most colorful kitchen cabinet gets darkened and stained. If you heed some main discoloring devils, you can keep their shine for a long time.
Let’s learn about the culprits thoroughly so that you can prevent them better! Besides, it’s helpful to secure good knowledge of the most effective cleaning solutions that not merely clean but take care of the paint.
1. Heat
In a kitchen, naturally, there will be some heat-emitting things. Such a source is a major reason for kitchen cabinet discoloration.
For example, a self-cleaning oven emits high heat. If the oven’s gasket lacks proper sealing, it can darken the cabin surface.
Let’s say you have found such a discoloration sign after finishing a self-cleaning cycle. Then it would help best if you replace the gasket.
If you are not confident enough, you better hire a licensed professional to prevent further damage. And please refrain from using heat-emitting things such as toasters directly underneath a kitchen cabinet.
2. Grease
There are thousands of kitchen cabinets that are near the stove. In this case, the buildup of dried oil and grease patterns can discolor the cabinet surface. Gradually, you will see your painted cabinet getting a dark stain plus a yellowish hue.
So it would help best if you banish these immediately after cooking. Use a warm, wet fabric piece for this removal.
On the other hand, use a mixture of water and vinegar to remove the dried oil buildup.
If it is more stubborn, you had better employ a commercial cleaner.
3. Light Damage
Let’s say the cabinet remains exposed to sunlight every day. Then be careful as it can compel the painted finish to crack and peel.
Especially direct sunlight lightens a wooden finish and makes it grayish gradually.
On the other hand, if your window allows the sun to lighten a particular part, the other part may get darkened. The darkness may be visible upon your painted finish too!
4. Moisture
Spilling or steaming can develop moisture that can discolor your kitchen cabinet.
For instance, your coffee maker can stain the cabinet door. There must be some exposed cabinetry, and often we forget to place the coffee maker away from it. It stains the lower cabinet. Some other liquids get spilled and dried, except for water.
When you forget or ignore regular cleaning, you will face discoloration.
5. Touching
Daily use is also a cause of kitchen cabinet discoloration. For example, your fingertips often comprise oil can etch away the coating.
As a result, a painted surface suffers from discoloration. And unless you root out the discoloration marks, it becomes stubborn.
6. Clouding and Fading
Your cabinet remains exposed to moisture or humidity. So clouding may occur on any portion of your cabinet. Clouding is more associated with lacquer finishes than polyurethane. It can make your cabinet finish milky or grayish.
Let’s say the cabinet is wooden. In that case, the milky or grayish development may hide the wood grain entirely!
The Apt Painting Approach You Should Take for Your Kitchen Cabinet
Often we get confused in terms of painting kitchen cabinets. We waste time deciding what to use and what not. Therefore, we thought it would help best if we give it a shot in this respect.
Choose Between Latex and Oil
You might be thinking of both – oil paint and latex paint. See, it’s high time to choose the better one. You can embrace latex paints for your kitchen cabinet as it has improved tremendously.
Compared to oil-based paints, you will find them more user-friendly. You can easily clean this as well. Also, it dries very fast. However, it may take around three weeks to dry. Therefore, it is prone to damage.
On the contrary, oil-based paint constructs a stronger and more lasting paint film. It superbly levels out to a smoother surface.
However, both of them can give you a perfect finish. Specifically, when you apply latex paint, ensure that it features 100% acrylic formulation. It can provide you with better adhesion and longevity.
Spray or Brush
Experts recommend a sprayed-on finish since it is the smoothest choice. You will have a learning curve for applying this. Else, you will need spraying equipment. And while spraying, it’s helpful to cover the cabinet interiors, countertops, etc.
However, it’s a time-consuming procedure.
So, you may prioritize using a high-quality brush. It will help if you manage a 3-4 inches-wide brush. Such a brush comprises straight ends that ask for little effort.
You may use an angled brush that is usually around 3 inches wide. Such a painting brush maximizes the longevity of shine.
A natural bristle brush goes best with oil-based painting.
On the other hand, you should use a synthetic bristle brush when applying latex paint.
Either Stripping or Painting over Cabinet
Let’s say the remaining finish is a clear coat. In that case, before you paint, you had better finish down to the bare wood. As a result, there will be no adhesion issues between the new paint and the old finish. You see, you cannot expect to have a practical outcome from stripping.
Make your kitchen surface ready for painting through proper cleaning and light sanding.
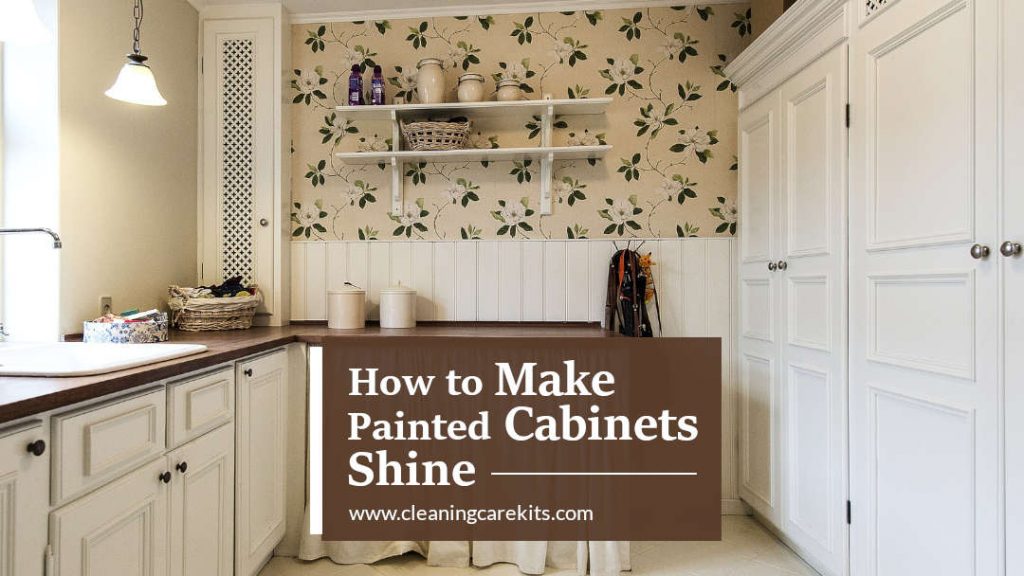
What to Use to Make Painted Cabinets Shine
The following methods are the most fruitful. Apply as you want!
Dish Soap and Warm Water along with a Microfiber Cloth
Make sure that you have these three tools. Allow us to say why dish soap. The fact is- it is an alkaline-based washing agent. When you apply this with warm water, it performs the best. There will be no grease and other disturbing things.
How is that?
- Pour some warm water into your bucket.
- Then mix two dish soaps in it.
- Then, use your microfiber cloth to wipe off the grease that is bothering the painted cabinet surface.
- However, be careful. Don’t scratch the surface harshly.
- Finally, rinse the area and let it dry.
Combination of White Vinegar and Hot Water
- Get a spray bottle to conceive a solution of hot water and white vinegar.
- Only 4 tablespoons of white vinegar will suffice.
- Shake it properly.
- Use a soft cloth to scrub.
- There will be no dirt. Then buff carefully.
Apply a Gentle Cleaning Solution
Deep cleaning is not necessary all the time. Your painted cabinet may only have minimal dirt and grease that is easily removable.
Use a wet, clean cloth and keep rubbing upon the affected area.
That’s it!
Clean Continuously and Keep It Clean
It would help best if you ensure regular cleaning. You don’t need to apply tough cleaning if you can do this. Thus, you will be free from spending extra time.
Let us share a general daily cleaning idea.
- Prepare a solution of 2 tablespoons baking soda, 1 cup of water, and 1 teaspoon toothpaste.
- Apply this where it needs to be.
- Get a clean cloth piece or sponge to scrub the affected portions.
A Fine Way Shine to Wood Kitchen Cabinets
Let us show something practical. Allow us to assume that your pain kitchen cabinet is wooden. In that case, you may follow the guidelines below!
Link Source: essortment
Things You Should Avoid to Get Back Cabinet’s Shine
Being excited, you must not employ some things to restore the cabinet’s shine. These are as follows!
Avoid Using Olive Oil
It is one of the prime made-up home remedies. However, it is NOT effective in all respects. As a non-drying oil, it comprises a film that invites dust and dirt. So you will find it tougher to clean your cabinet in that case. And please believe that olive oil replenishes wood and restores its shine. It is not proven at all! Instead, the oil residue hoax sometimes.
You must not be one of them, agree?
Try to Avoid Vinegar and Baking Soda
Believe it or not, baking soda and vinegar are poor cleaning agents. For instance, white vinegar is effective only for removing soap buildup and mineral deposits. The fact is- any of them can be a big issue for your cabinet.
Say No, Any Abrasive Cleaning Tool
You may think of using tools like wire-bristled brushes, steel wool, scouring pads, etc.
Please don’t!
Whether your painted surface is laminated or wooden, these will leave scratches.
Be cautious! It would help best if you use a damp soft, or microfiber cloth to look after your painted laminate cabinet.
Avoid Using Hot Air
It becomes urgent to dry the kitchen cabinet. However, dare not use a hairdryer or hot air to dry your cabinet surface. Such a tool dries excessively, which leads to cracks and splinters.
To Wrap Up
Whether in kitchens or bathrooms, a painted cabinet has many challenges. It is always prone to dirt, grease, bacteria, fingerprints, oil splashes, and other messes. So you must make timely attempts to make your cabinet shine. Hopefully, this guide will benefit you in the long run.
Have a good day!

- How to Clean Kitchen Floor Grout Naturally: Easy DIY Methods - June 25, 2024
- How to Clean Thermoplastic Kitchen Cabinets Properly: Expert Tips - June 19, 2024
- How to Clean Mica Kitchen Cabinets: A Simple Guide - June 19, 2024
![How to Clean Thermofoil Kitchen Cabinets [Proven Tips]](https://cleaningcarekits.com/wp-content/uploads/2022/11/How-To-Clean-Thermofoil-Kitchen-Cabinets-768x512.jpg)